Posts

Phantom Culprit: Lighting and Materials

Image
The Lighting Lighting and materials play a massive part in the immersion of a player into the game world. I read articles published by Epic themselves on how the lighting system works in the Unreal Engine and the best techniques to light each part of the level. Static, Stationary and Movable lighting - (detailed in Phantom Culprit: Level Creation) Materials and their properties - PBR materials (detailed at the bottom of this post) Reflection spheres - capture and reflect light in a lighting build Post processing - edit lighting, bloom, colour grading, camera effects  Exponential height fog - dense fog with light scattering The reflection sphere captures the light from outside the windows, the ceiling lights and the emissive light from the vending machine then reflects that lighting to the surroundings. The floor has a shiny reflection compared to the rougher walls. The Materials The second part of a great lighting setup is PBR (Physcially Based Rendering) materials.

Phantom Culprit: The Finished Level

Image
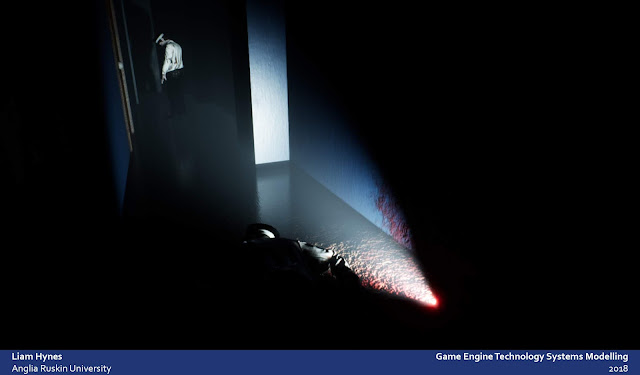
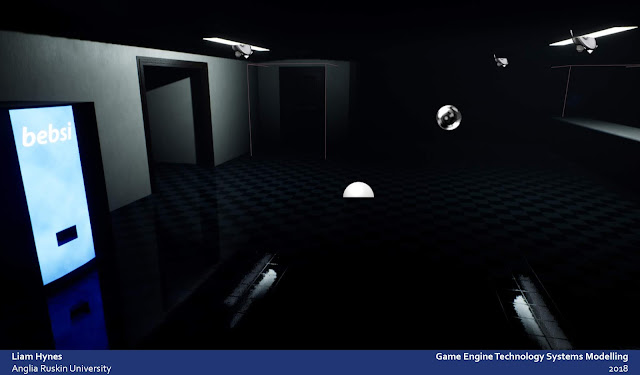
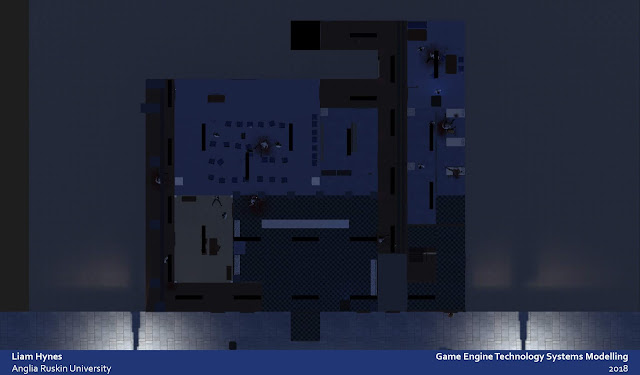
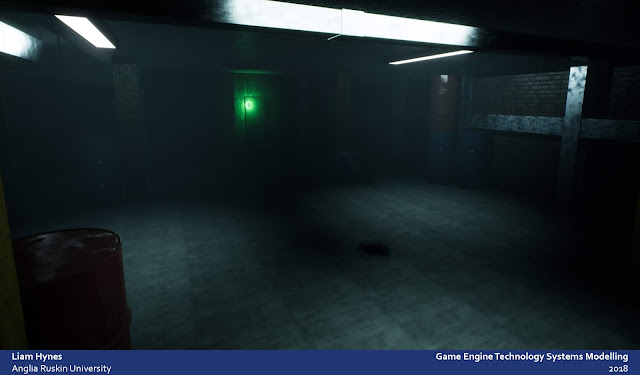
The Police Station The Layout The police station level is in the last steps of completion with the layout finalised, props added and details placed. All that is left to do is work on the objective system, AI layout with any spare time being used for asset creation to fill in any finer details. Overview of the ground floor of the police station. The layout was originally planed to be 'free roam' with the player being able to open most doors and explore the level as a circuit. However during play testing, done by myself and 2 others, I found this approach would mean players could miss over half the level and complete the game too quick. Instead I locked the door to the right of the starting room (The main hall in the center middle) and focused on creating a linear route.  The Linear Approach The linear route. This route leads the player from the starting room, round the left hall, through the briefing room, past the armoury. The player can then go to the en

Lost Time

Development Delay Work on Phantom Culprit had ceased for the past month due to an illness which lead me to be hospitalised and away from Cambridge. Because of all this lost time and with a new deadline in a weeks time, I had to work hard to get the level with all features finished.

Phantom Culprit: Interactive World

Image
Lights, Objectives and Doors For Phantom Culprit I wanted an interactive environment to bring it to life. Around the level are many objects the player can interact with ranging from doors, light switches and pickups. Turning on the lights reveals some of the levels darker secrets. The player's first objective upon entering the station is to find the fuse box and reset the power to the building. Once the fuse box is turned on, all the lights in the building come back on revealing more enemies and hidden details relating to the attack on the station. All the doors in the level are created using a blueprint which allows me to say which doors are locked and the state the door is in. Every unlocked door has a 3D world spaced widget with the Interact key shown, giving the player direction around the level. The objectives are also made using a blueprint called ObjectiveMaster. Every objective in the level is a child of Objective Master. Each objective can be configured

Phantom Culprit: Weapons

Image
Glock 17 Gen. 4 My chosen weapon was the Glock 17 Generation 4. The Glock 17 is an Austrian made handgun chambered in 9x19mm and is used as the main sidearm for most law enforcements around the world. The biggest reason for choosing this gun apart from meeting my needs for a handgun is that it fits the setting of my game. The Glock 17 being the main handgun used by police and military forces in the UK and my game being based in the UK it made sense, giving the game some authenticity. The Glock 17 is also highly customizable with different attachments, such as torches and laser sights, as well as different grips, slide and colour patterns.  A Glock 17 Gen 4 (Image by Buds Gun Shop,  https://www.budsgunshop.com/catalog/index.php ) The Model I created the Glock 17 using reference images in Maya 2018. The gun was separated into 4 components to allow animation. These components being the slide, receiver, trigger and magazine. Each component was then  assigned a layer in Maya fo

Phantom Culprit: Character Creation

Image
Tools To create my characters I used a mix of Adobe Fuse, Substance Painter and Maya. Each tool respectively allows me to create their models, textures and animation. Adobe Fuse Adobe Fuse is a free character mesh builder that allows for users to start off with a basic array of body parts. These can then be edited with finer precision and then equipped with clothes and accessories.  Adobe Fuse also rigs the characters with a skeleton which can then be used for animations. Rigged meshes can be exported to Adobe Mixamo for some quick, pre-made animations which I used for my characters walking and zombie attack animations. My main character in Adobe Fuse. Substance Painter Substance painter, a material editor as mentioned in the previous post, allows me to add finer details to my characters and meshes. I used it to add more gore to my zombies but to also create high quality textures for a few props such as the ammo boxes which can be found in the game. The handgun